Pages

Wednesday, 17 December 2014

Smoke Trails

This week, my experimentation task at college was to photograph smoke trails. Ideally, doing this in a studio set up with proper lights and a back drop would work best, however I didn't have the time to book up the studio at college so I made my own set up at home.

I used two incense sticks (to make sure the smoke was thick), a black bed sheet for a background, my flashgun & a torch to light the smoke. It took a while to start to get some shots that I was happy with but after a lot of patience and trial & error, I got some final shots that I'm really pleased with. My camera settings for these were: ISO 100, 1/200 (Some 1/160) and f 6.5. I also had my camera on manual focus so that it was easier to focus on the smoke.

In Photoshop I changed the colours of the smoke to make them look more interesting & stand out against the black. Here are my favourites :-)


Tuesday, 16 December 2014

Taxidermy

On Friday, I had a great opportunity to take photographs of a media make-up assessment for one of my projects from the very start to the end result. The theme was taxidermy & the artist that I was taking photos of had chosen to create a 'moth' for her make-up look. Her name is Emily Cutts and you can follow her on twitter - @emilycutts11 or view her Facebook page here - https://www.facebook.com/EmilyCuttsMuArtist or her blog - http://emilycuttsmakeupartist.blogspot.co.uk

It was great fun to be in the middle of the chaos all day & also challenging to get the right lighting and angles. After the process was finished, I took some photo's of the final look in the studio & here are the results.


Wednesday, 10 December 2014

Splash Photography

Last week, I was set a task to experiment with splash photography. I researched various techniques and watched tutorials and although I thought it looked challenging, I was ready and willing to give it a go! However, I had no idea just how hard it would be !!!

You can take around 20 shots and only one will be any good. It takes lots of patience and I found it easy with another pair of hands to help, so they can drop the object into the liquid to create the splash & you can focus mainly on your camera.

Here are the various stages of my first trial:


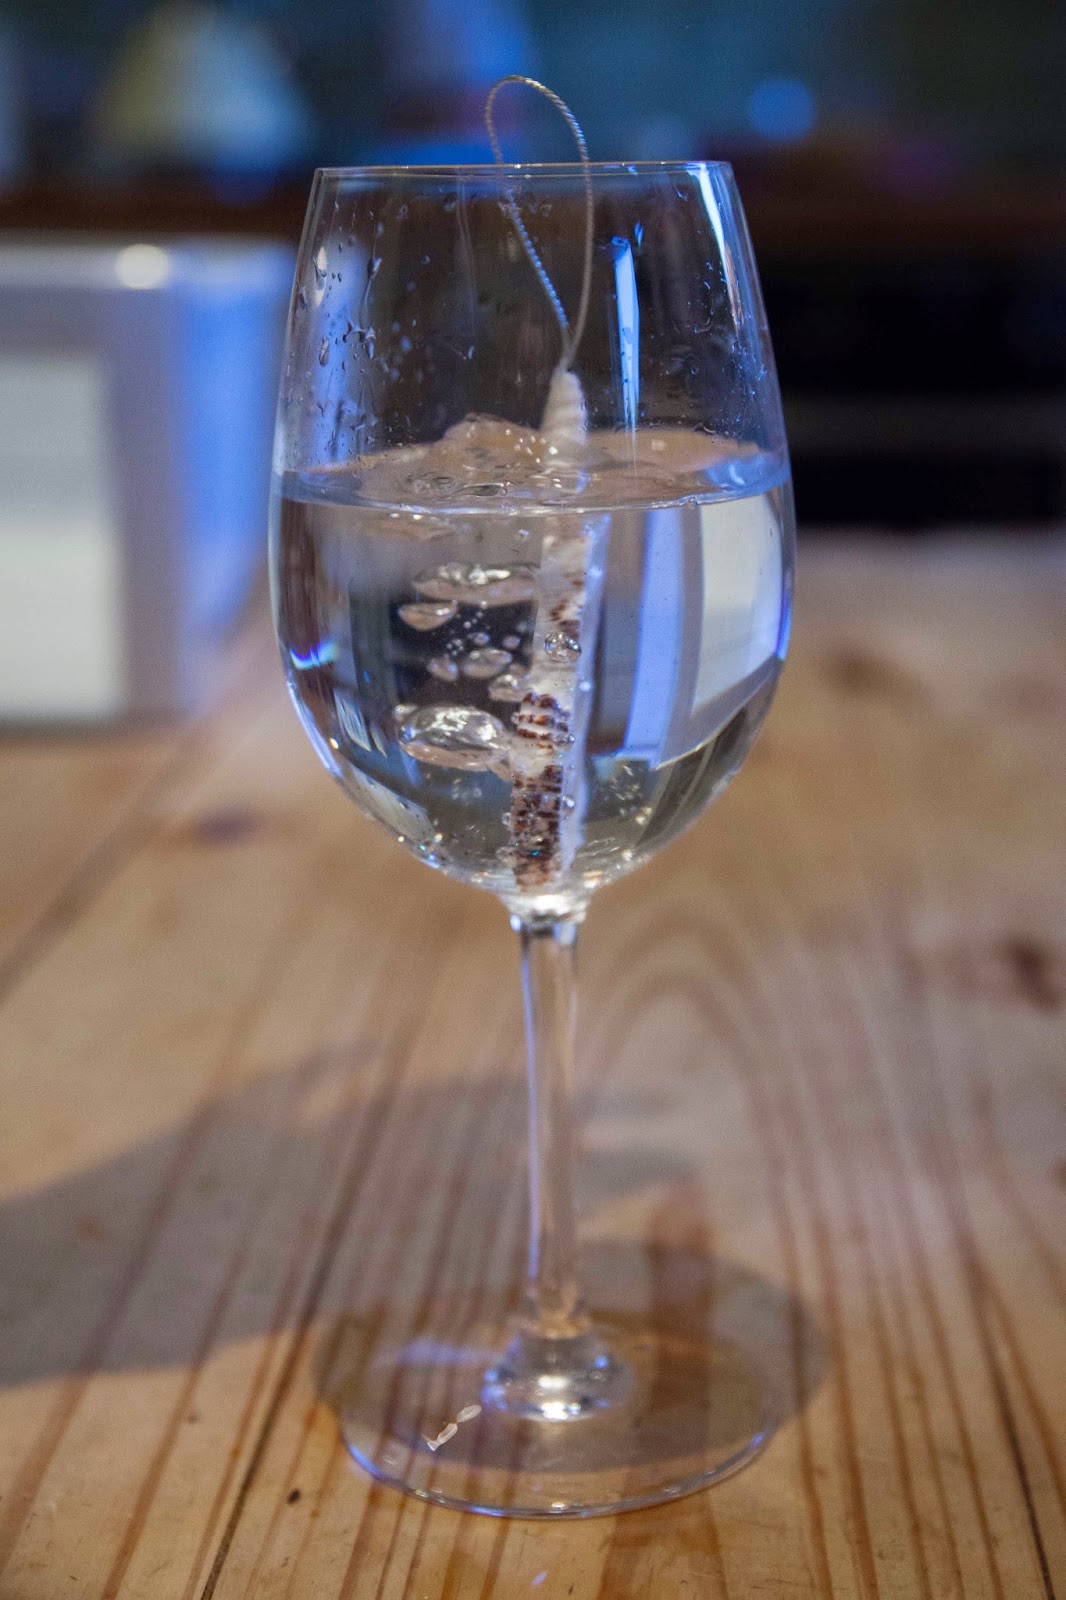
The first few shots are taken with a soft bauble from the Christmas tree but the decoration wasn't heavy enough to create a big enough splash.


Then I tried a pebble from outside in the garden, this fell too quickly and was hard to photograph. I then tried a shell decoration but that was too light.


The best object that I used to crete a big splash was a frozen raspberry. It seemed to be a perfect size and weight for the splash I was trying to achieve. Although some of them are blurred, I am happy enough with them for a first attempt.


I also tried out using milk, I didn't think it worked aswell because you can't see the bubbles like you can in the water or the raspberry. 

I am not a massive fan of photographing still life however it was good practice and interesting to try out something new that I hadn't done before.

Don't forget to follow me on twitter if you haven't already & I will follow back :)
@danniellehphoto 

Monday, 8 December 2014

My website has finally gone live!

Just a quick blog post to say that my website is officially live since Friday afternoon, after hours and hours of changing it around & getting frustrated it's finally ready & here :D

www.danniellehuntphotography.com

Go & check it out :)
Happy Monday everyone!!!


Tuesday, 2 December 2014

Catching the Sunrise

My alarm went off at 7am on Saturday morning and I rolled out of bed and went into the garden with my camera to catch the golden sunrise. It was the second time I had got up and photographed a sunrise in my photography life, the time before was when I was in Tunisia so it was much morning and easier to get out of bed!!!

I was trying out a technique for one of my lectures this week, it was to take a overly exposed image or a really underexposed image and recover them in Photoshop using different tools to get an interesting result.

The main rules to remember are to shoot in RAW - so there is more information to recover from & to make sure you remember to over expose or under expose by one or two stops!

I have the before & after results to show you now..


Thursday, 27 November 2014

Words in Sparklers

I've spent the evening outside in the garden with my brilliant family who were willing to stand in the freezing cold for half an hour with me, making shapes and letters with sparklers for my text and image project.

I tried a few different things, some things worked really well whereas some things didn't work as much.

Here a few of my favourites :)


My Mum got confused on this one and spelt the 'S' the wrong way round!!!


I recently shot a wedding with a professional photographer and we tried out this technique on the day, check out the photographs here - https://www.facebook.com/BarefootPhotog/posts/845165362195113

Portfolio Decisions

As Christmas is fast approaching, it's not just the lists of presents that I have left to buy that is on my mind, it's also the fact that My End of Year Show is going to be here before I know it in May next year and I have to get a portfolio together.

I have a old portfolio from my A level photography course but the photographs are old and no where near a good enough standard for a portfolio. 

The hardest part about it is deciding on just what images that I want to include. Also then comes what I want to present it in (book/folder/digital) and what sizes, but I pretty much already know that I want to present at A3 size because they are big and bold enough to stand out.

Here are some of my photographs that I consider my best and the ones that will be definite candidates for my portfolio.


Template by BloggerCandy.com | Header Image by Freepik